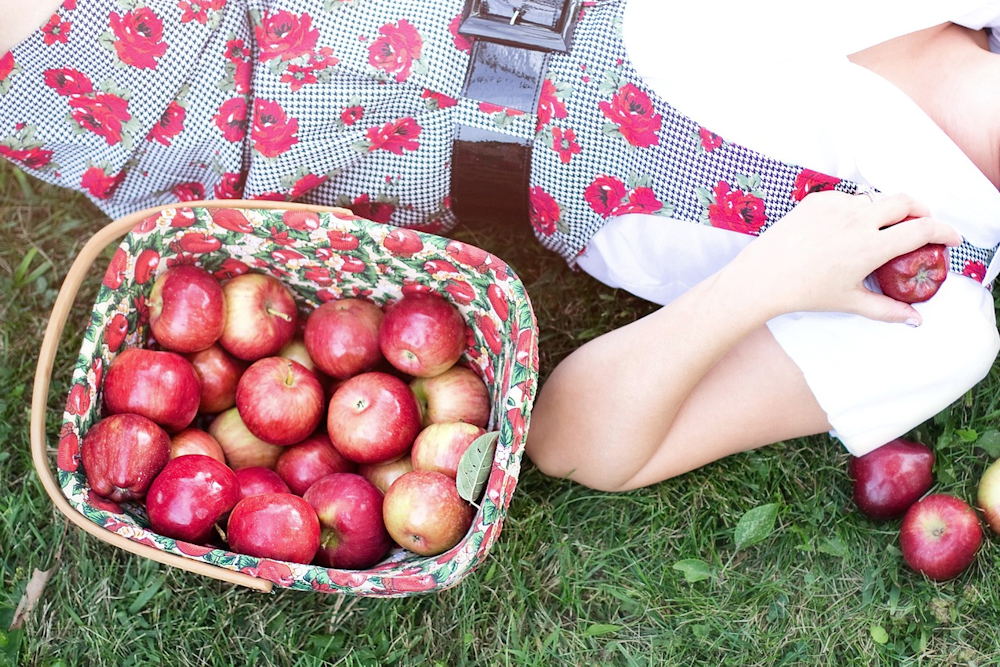
As we move into mid-September, it’s the perfect time to discuss apple harvesting. Apples are a versatile and beloved fruit, but to make the most of your harvest, you need to know the best practices for picking, storing, and using them in your kitchen. This article provides tips on how to harvest apples correctly, store them for extended freshness, and create delicious dishes, including two easy-to-make traditional recipes.
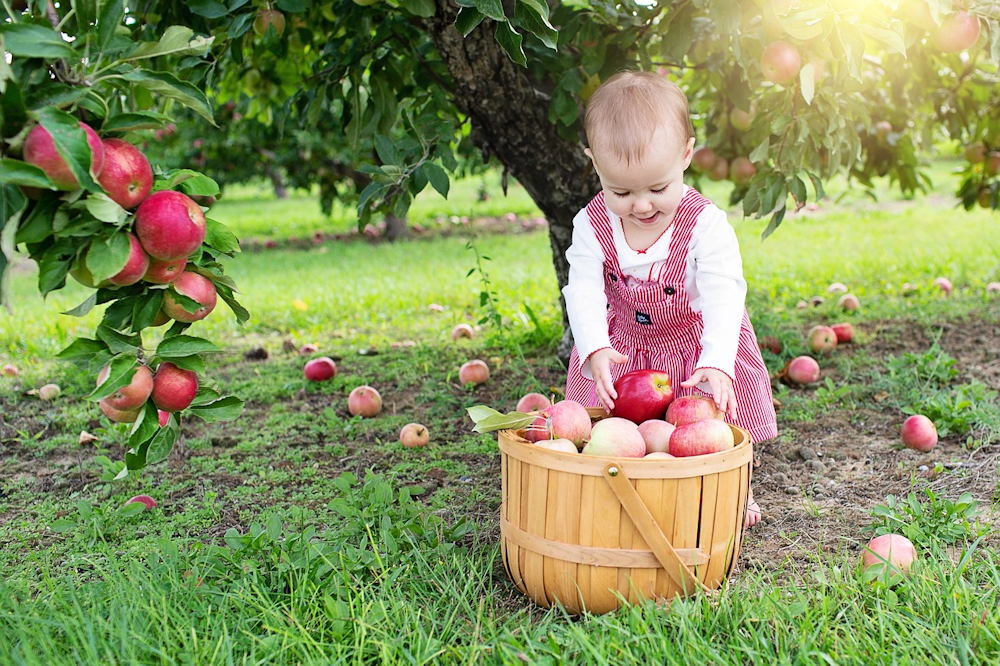
Pick Like a Pro: Essential Tips for Harvesting Apples at Their Peak
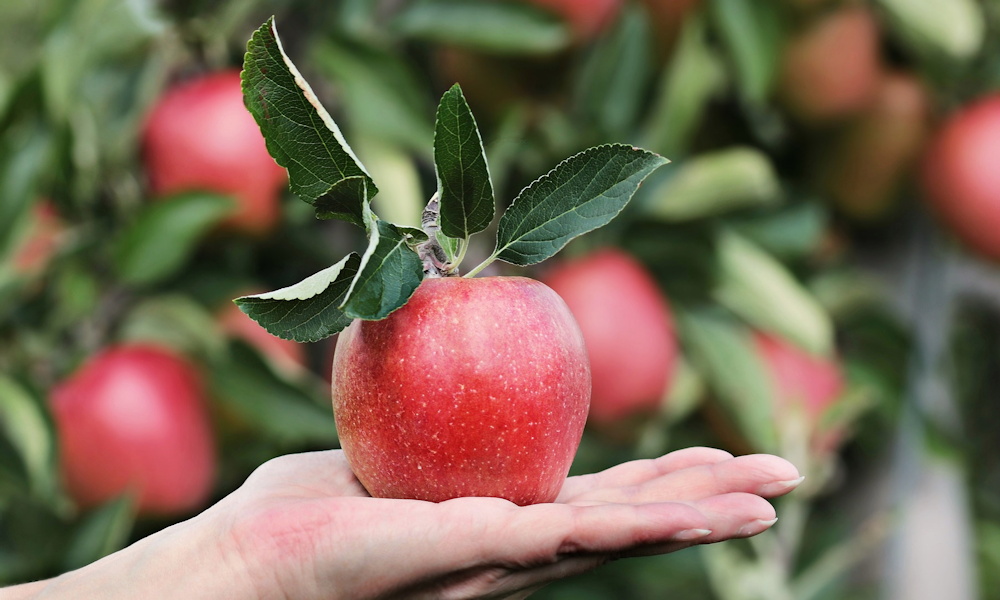
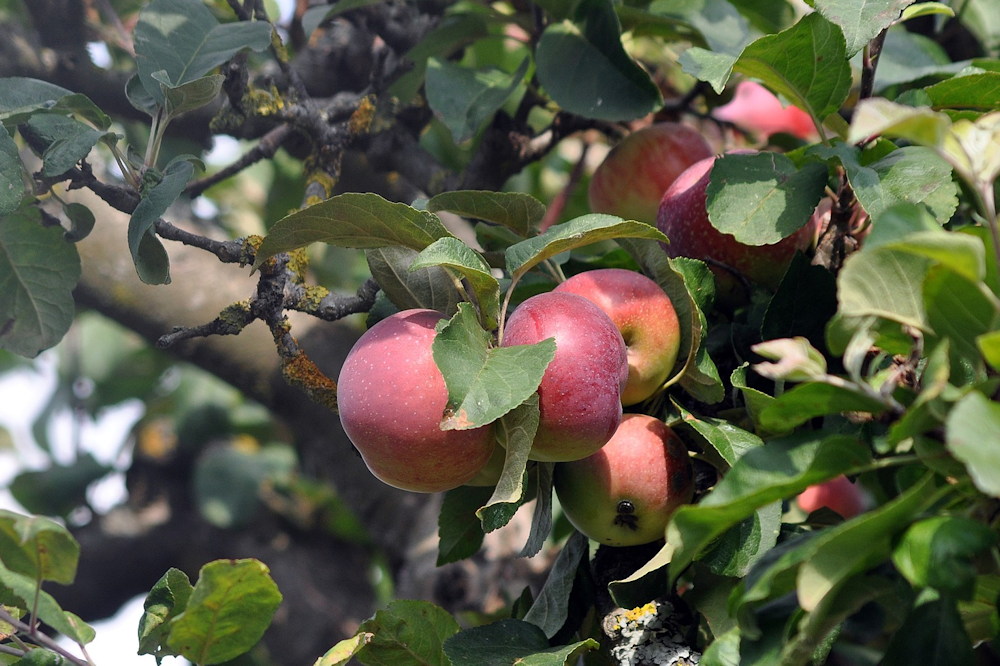
- Know When to Harvest: Apples are usually ready for picking from late summer to early fall. The best way to determine if they are ripe is by gently lifting the apple; if it comes away easily from the branch, it’s ready. Avoid pulling or yanking the apples as this can damage the tree and the fruit.
- Harvest Gently: When picking apples, cradle the fruit in your hand and twist it slightly. Use a gentle approach to prevent bruising and to ensure the longevity of the fruit.
- Harvest in the Morning: Cooler temperatures in the morning help retain the apple’s crispness and freshness. Avoid harvesting in the midday heat, as it can cause the apples to spoil faster.
- Sort Apples by Quality: While harvesting, separate the perfect apples from those with blemishes or minor damage. The blemished ones should be used first or preserved, while the perfect apples are ideal for storage.
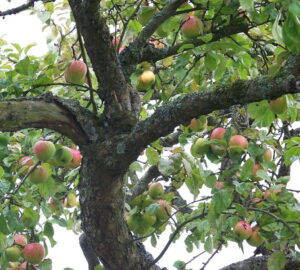
- Look for the Right Color: To determine if an apple is ready for harvesting, especially for long-term storage, check its color. A mature apple should have the appropriate coloration for its variety – red apples should show a good blush, while green apples should have a slight yellow hue. However, for storage purposes, pick apples when they are mature but slightly under-ripe, as this helps them stay fresh longer without overripening.
Storing Secrets: Keep Your Apples Fresh for Months with These Simple Tricks
- Choose the Right Apples for Storage: Not all apple varieties store equally well. Some of the best varieties for storage include Granny Smith, Fuji, and Honeycrisp. They have a longer shelf life and retain their texture and flavor.
- Store in a Cool, Humid Place: The ideal conditions for storing apples are around 1-2°C (34-36°F) with high humidity. A basement, cellar, or fridge works well. If possible, wrap each apple in a piece of newspaper to prevent them from touching each other, reducing the risk of one rotten apple affecting the others.
- Check Regularly for Spoilage: Periodically inspect your stored apples for any signs of rot or spoilage. Remove any affected apples immediately to prevent the spread to the rest of the batch.
- Keep Apples Away from Other Produce: Apples emit ethylene gas, which can cause other fruits and vegetables to ripen and spoil faster. Store them separately to prolong freshness.
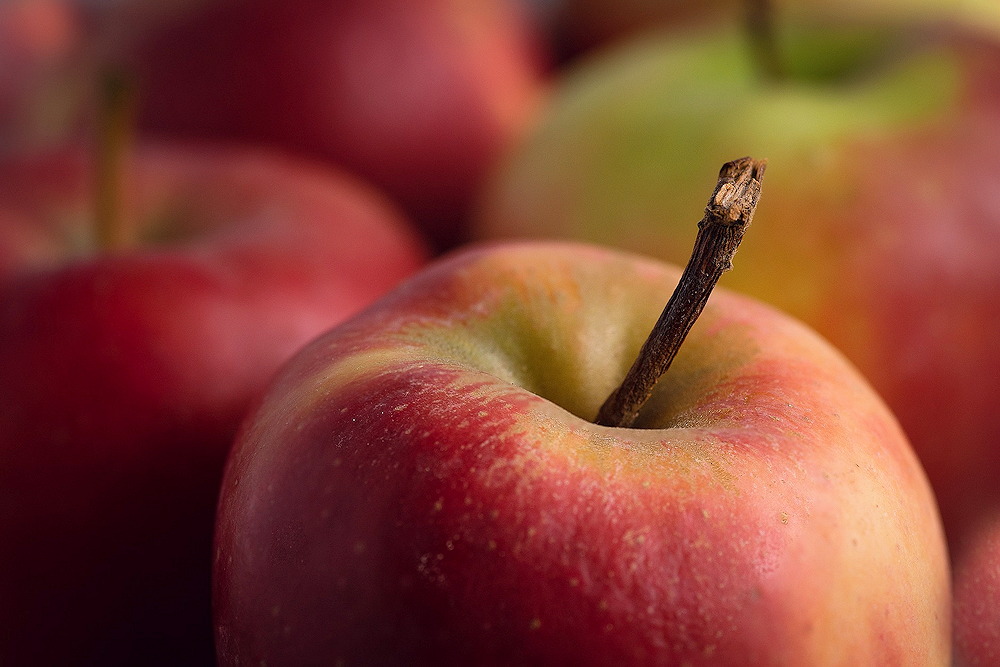
Beyond the Pie: Creative Ways to Use Your Apple Harvest in the Kitchen
- Salads: Thin slices of apple add a refreshing crunch to salads. Pair them with nuts, cheese, and a light vinaigrette for a delicious fall salad.
- Sauces and Purees: Apples can be cooked down into sauces or purees that serve as a side dish, a base for other recipes, or even baby food.
- Baking and Roasting: Use apples in baking recipes like pies, tarts, and crisps, or roast them alongside root vegetables for a savory twist.
- Apple Butter: Slow-cook apples with sugar, cinnamon, and cloves until they turn into a thick, rich spread. This can be used on toast, in oatmeal, or as a filling for pastries.
- Apple Chutney: Combine apples with vinegar, onions, ginger, and spices to create a sweet and tangy chutney. It’s a great accompaniment for meats, cheeses, or as a condiment for sandwiches.
- Apple Chips: Thinly slice apples, sprinkle with a bit of cinnamon or sugar, and bake them slowly until crisp. These make for a healthy, crunchy snack that’s perfect for fall.
- Apple Slaw: Shred apples and mix them with cabbage, carrots, and a tangy dressing to create a refreshing slaw. This is a great side dish for barbecues or as a topping for burgers and sandwiches.

Recipe 1: Traditional Spiced Apple Compote
This classic spiced apple compote brings together warm, comforting flavors of cinnamon, nutmeg, and cloves, making it the perfect companion for fall desserts or a cozy breakfast topping.
Ingredients
- 6 medium-sized apples (such as Granny Smith or Honeycrisp), peeled, cored, and chopped
- 1/2 cup sugar
- 1 cup water
- 1 cinnamon stick
- 1/2 teaspoon ground nutmeg
- 1/4 teaspoon ground cloves
- Juice of 1 lemon
Instructions
- In a medium saucepan, combine water, sugar, cinnamon stick, nutmeg, and cloves. Bring to a simmer over medium heat, stirring occasionally until the sugar dissolves.
- Add the chopped apples and lemon juice to the pan. Reduce the heat to low and cook for 15-20 minutes, stirring occasionally, until the apples are tender and the compote has thickened slightly.
- Remove from heat and discard the cinnamon stick.
- Let the compote cool to room temperature before serving. It can be enjoyed warm or cold, on its own, or as a topping for yogurt, pancakes, or ice cream.
Recipe 2: Classic Apple Tart with a Nutty Crumble Topping
A delicious apple tart with a buttery, nutty crumble topping, perfect for any occasion.
Ingredients
- 1 pre-made pie crust
- 4-5 apples (Granny Smith or Honeycrisp work well)
- 1/4 cup brown sugar
- 1/4 cup white sugar
- 1 teaspoon ground cinnamon
- 1/4 teaspoon ground nutmeg
- 1 tablespoon lemon juice
- 1/4 cup chopped walnuts or pecans
- 1/4 cup rolled oats
- 1/4 cup flour
- 1/4 cup butter, melted
Instructions
- Preheat the oven to 375°F (190°C). Place the pie crust in a tart pan and set aside.
- Peel, core, and thinly slice the apples. Toss them with lemon juice, brown sugar, white sugar, cinnamon, and nutmeg.
- Arrange the apple slices in the pie crust, overlapping them slightly.
- In a small bowl, mix the chopped nuts, oats, flour, and melted butter until it forms a crumbly texture. Sprinkle this mixture over the apples.
- Bake for 40-45 minutes or until the crust is golden brown and the apples are tender. Let it cool before serving with vanilla ice cream or a dollop of whipped cream.

Wrapping Up Your Apple Harvest
With these tips and recipes, you can make the most out of your apple harvest this season. Whether you are storing them for later use or trying out new and exciting recipes, apples are a versatile and delicious addition to your kitchen. Enjoy the process of harvesting and savor the flavors of fall!
