


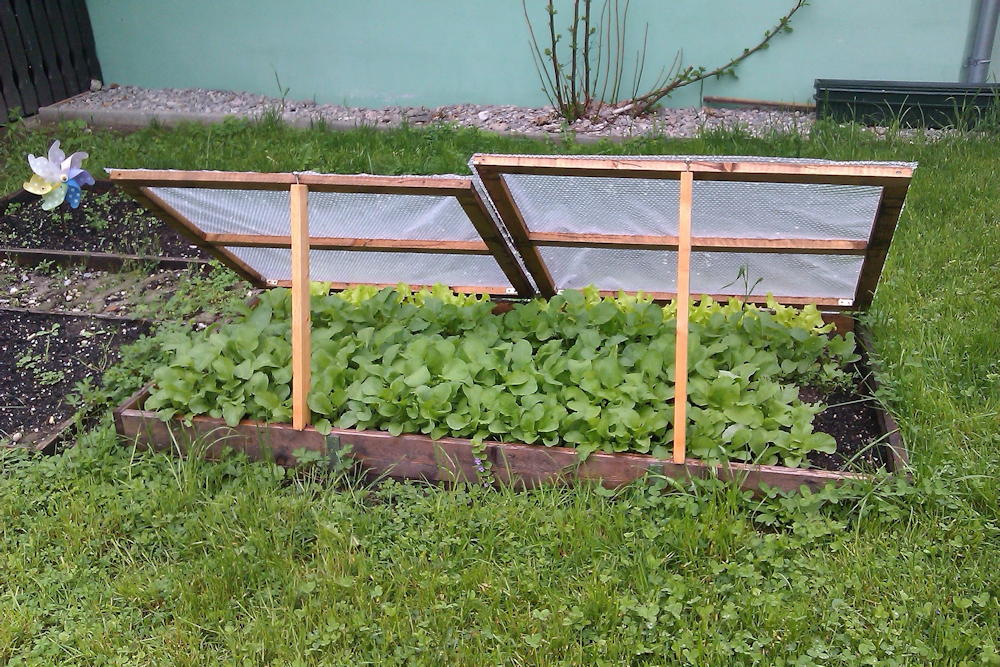
A cold frame is a simple but effective way to extend the gardening season, allowing for early planting even in late winter. By harnessing the sun’s warming rays and utilizing the greenhouse effect, a cold frame creates a favorable microclimate for seedlings and young plants, enabling earlier and healthier growth.
Choosing the Right Location
For the best results, position your cold frame in a sunny, wind-protected area, ideally facing south to maximize sunlight exposure. The optimal time to prepare your cold frame is between late January and mid-February. However, in particularly harsh winters, setup may extend into late February.
Constructing a Cold Frame: Step-by-Step Guide
A properly layered growing medium is essential for success. Follow these steps to ensure ideal conditions for your plants:
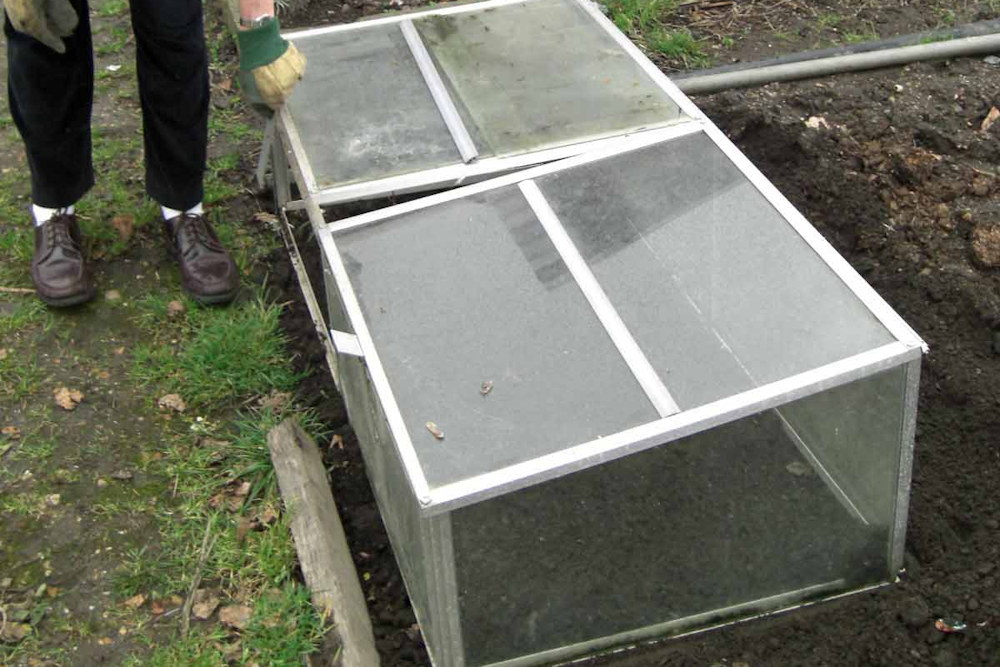
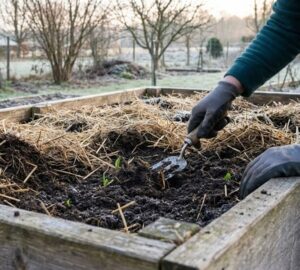
- Prepare the Base: Dig a pit approximately 40-50 cm (16-20 inches) deep in the chosen location. Construct the side walls using wood, bricks, or any durable material. If rodents are a concern, place a wire mesh at the bottom to deter them.
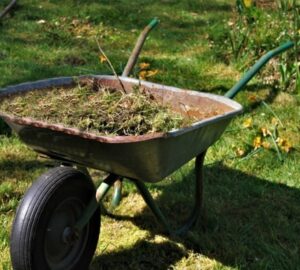
- Create a Natural Heating Layer: Fill the pit with about 20 cm (8 inches) of fresh horse manure mixed with straw. This generates natural heat as it decomposes. If horse manure is unavailable, you can substitute it with a mixture of autumn leaves, kitchen scraps, and garden waste.
- Add the Growing Medium: Spread a 3:1 mixture of garden soil and semi-mature compost over the heating layer. This provides a fertile and well-draining base for planting.
- Cover and Let It Settle: Close the lid of the cold frame to trap warmth. The medium will be ready in about a week, provided the decomposition process generates sufficient heat. Before sowing, ensure that the soil temperature has reached at least 14°C.
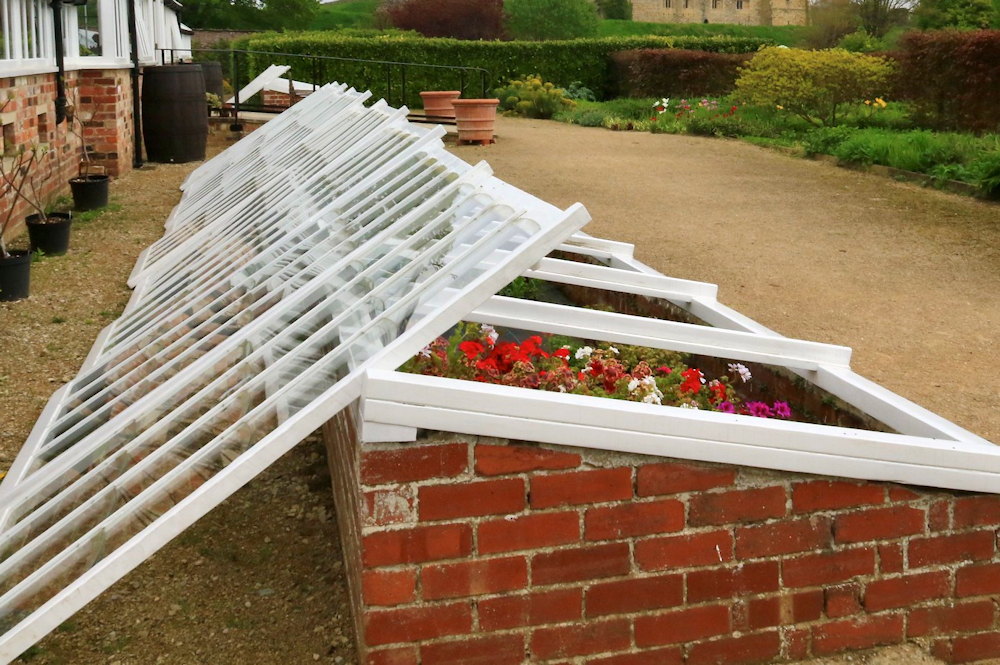
Managing Temperature and Ventilation
Even in February, the sun can heat up the cold frame significantly. To maintain an optimal growing environment, regularly ventilate by propping the lid open slightly, preventing overheating. Aim to keep the internal temperature between 22-25°C during the day. In the afternoon, close the lid to retain warmth overnight.
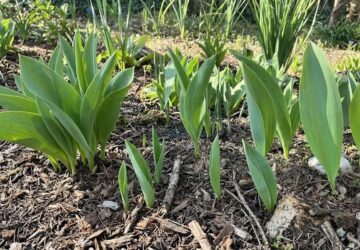
What Can You Grow in a Cold Frame?
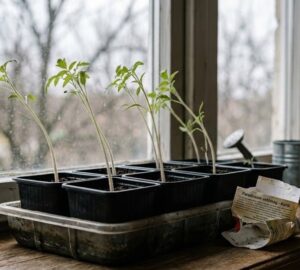
Cold frames are perfect for plants that thrive in cooler temperatures. They can also serve as a nursery for seedlings before transplanting them to garden beds or containers. Here’s a planting schedule to help you plan your crops effectively:
- February: Sow lettuce, radishes, kohlrabi, and watercress.
- March-April: Start seedlings for tomatoes, cucumbers, peppers, zucchini, and lettuce.
- April-May: Grow seedlings of cauliflower, pumpkins, and runner beans.
- June-July: Sow broccoli, peppers, eggplants, and melons.
- August-September: Plant lettuce, leeks, radishes, and late-season radish varieties.
- September-November: Sow and plant autumn and winter vegetables such as lamb’s lettuce, endive, leeks, winter spinach, and purslane.
Additional Tips for Success
- Watering: Keep the soil consistently moist but not waterlogged.
- Insulation: In particularly cold regions, insulate the frame with straw or bubble wrap during freezing nights.
- Pest Control: Monitor for pests like slugs and aphids, which can thrive in the warm, humid environment.
By setting up a cold frame, you can get a head start on the growing season, ensuring an early and bountiful harvest while protecting young plants from harsh weather conditions.

