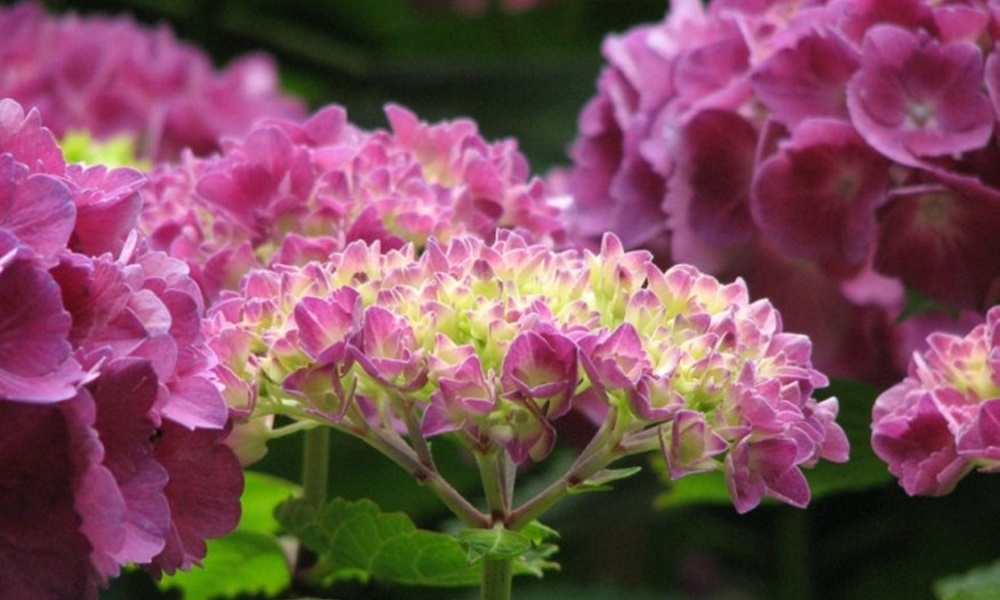
Hydrangeas, with their striking blooms and elegant foliage, have become a beloved choice among garden enthusiasts. Their ability to thrive in a variety of climates and their stunning blossoms make them a sought-after garden ornamental. In this article, we’ll delve into the art of propagating hydrangeas, enabling you to multiply the beauty of these captivating plants in your own garden.
Hydrangea: A Garden Favorite
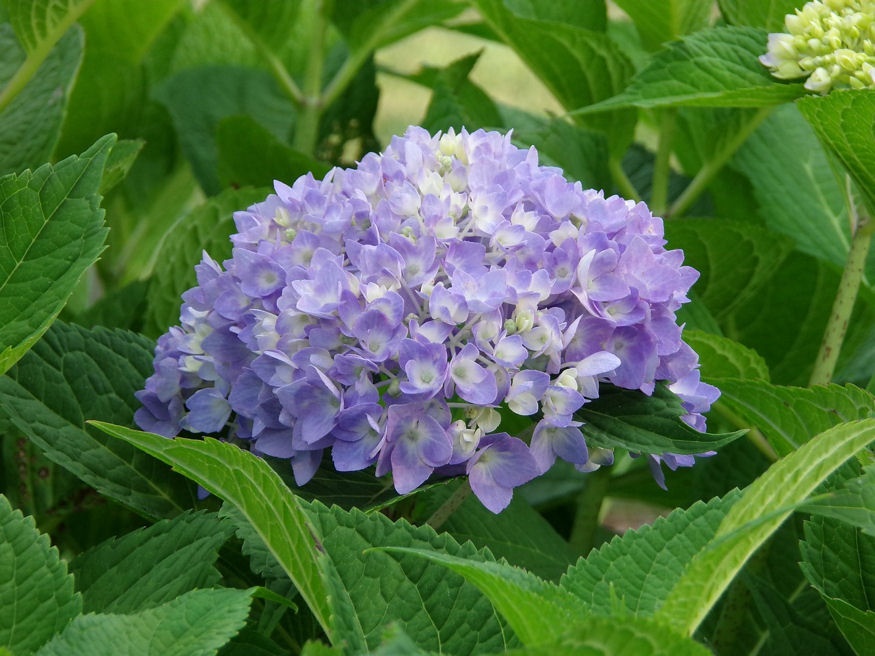
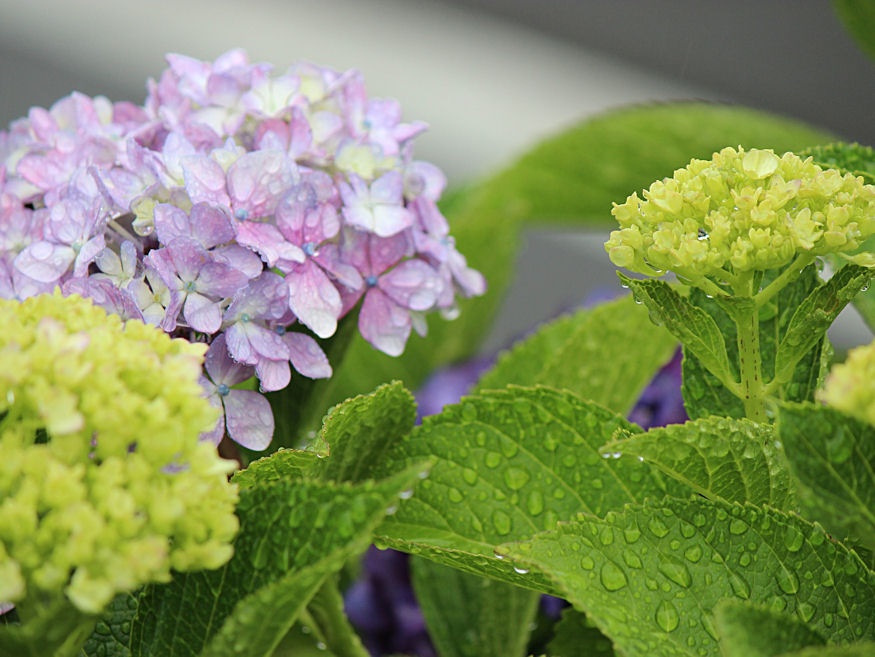
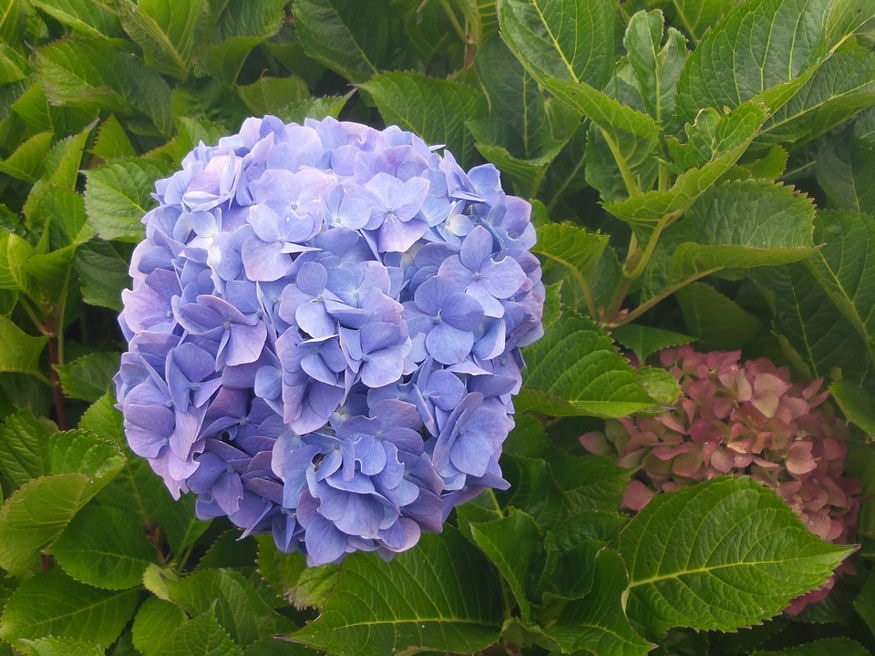
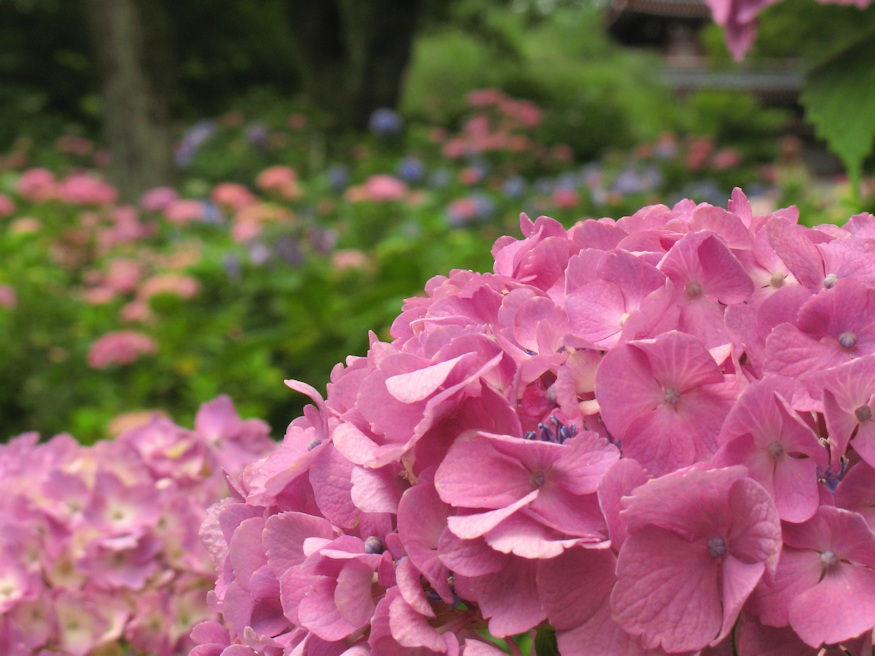
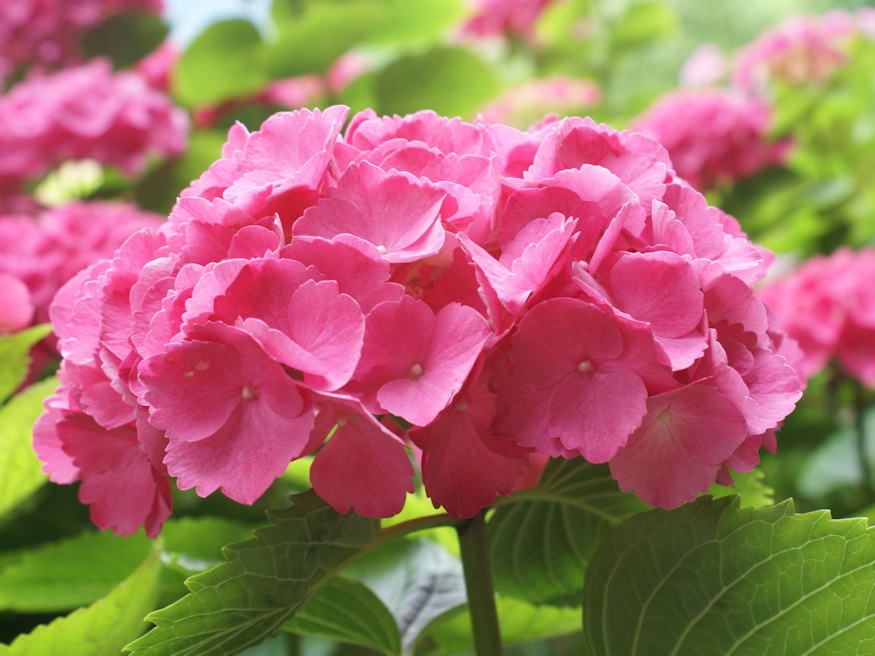
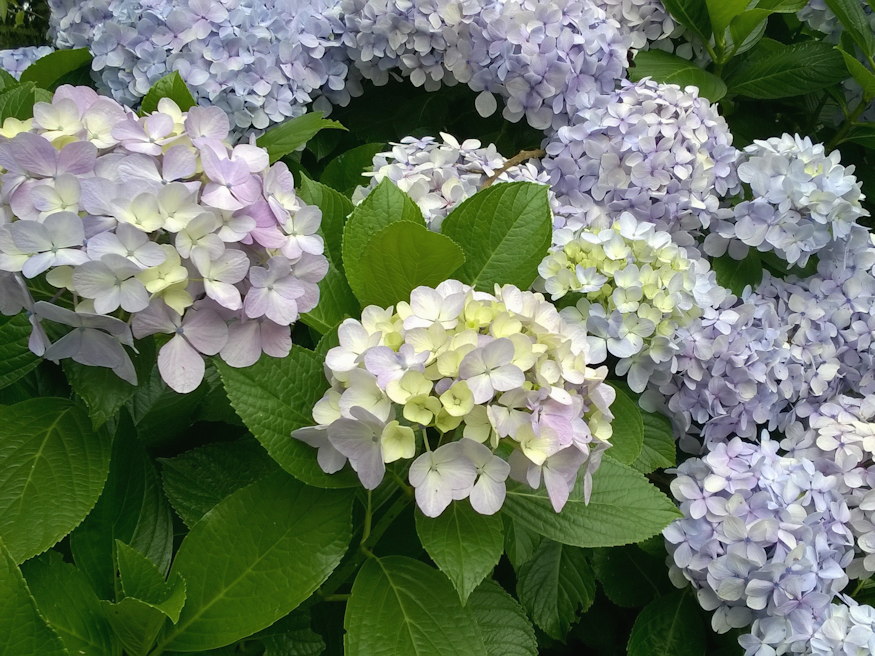
Renowned for their voluminous clusters of flowers and vibrant colors, hydrangeas have earned their place as a cherished garden ornamental. These deciduous shrubs are treasured for their adaptability to different growing conditions and their capacity to produce blooms from spring to fall. Their charm lies in the diverse range of flower colors, including blue, pink, white and purple, which can even vary based on soil pH. The ability to propagate hydrangeas allows gardeners to expand their collection and share the beauty of these flowers with friends and family.
Propagation Methods: Advantages and Disadvantages
Hydrangeas can be propagated through several methods, each with its own set of advantages and disadvantages.
- One common method is softwood cuttings, where young, tender stems are collected during the growing season and rooted to create new plants. While this method can yield quick results, it requires careful monitoring of moisture levels.
- Another approach is layering, where a low-hanging branch is encouraged to root while still attached to the parent plant. While layering is relatively low-effort, it can take more time for the new plant to establish itself.
- Division involves separating an existing plant into multiple parts, which can be ideal for rejuvenating an overgrown hydrangea. However, division might not be feasible for all hydrangea varieties.
- Lastly, seeds can be used, though this method is less common due to the variability in traits among seedlings.
Select the method that best suits your preferences and circumstances.
Timing Matters: Selecting the Optimal Propagation Periods
The timing for propagating hydrangeas varies according to the chosen method, allowing gardeners to make the most of each approach.
- Softwood cuttings are best taken in late spring or early summer when the plant’s growth is vigorous. During this time, the stems are still flexible and have not yet developed woody tissue.
- Layering, on the other hand, is typically performed in early to mid-summer when branches are pliable and can be bent down to make contact with the soil.
- Division is most effective during the plant’s dormant season, which is late fall to early spring. This timing ensures minimal disruption to the parent plant’s growth and facilitates the rapid establishment of divided sections.
- Finally, while seeds can be sown in late winter or early spring indoors, this method is generally less predictable due to the genetic variability of seedlings and may take longer to produce mature plants.
By understanding these distinct windows of opportunity, you can maximize your success rate and achieve flourishing hydrangea progeny in your garden.
Choosing the Right Rooting Medium: Setting the Stage for Success
When propagating hydrangeas, the choice of rooting medium is a crucial factor in ensuring successful plant establishment. A well-draining, moisture-retentive mixture is ideal for encouraging root development. A blend of peat moss, perlite and vermiculite provides an optimal environment for young roots to form. This combination offers the necessary aeration, moisture retention and nutrient availability that enable cuttings to thrive. Rooting hormone application to the cut ends of stems can also enhance the likelihood of successful rooting, giving your newly propagated hydrangeas the best start possible.
Planting Propagated Hydrangea in Your Garden: Nurturing New Growth
Once you have successfully propagated hydrangeas, it’s time to integrate them into your garden. Choose a location that offers well-draining soil and partial shade, as excessive sunlight can scorch the delicate leaves. Prepare the planting hole by amending the soil with compost to ensure optimal drainage and nutrient availability. Gently remove the young plant from its container or rooting medium, being cautious not to damage its fragile root system. Place the plant in the hole at the same depth it was growing before, backfill with soil and water thoroughly. Regular watering and mulching will aid in the establishment of your newly propagated hydrangea.
Pro Tips for Hydrangea Success
To promote vibrant blooms, consider adjusting the soil pH to influence flower color. Acidic soils tend to produce blue flowers, while alkaline soils lean toward pink. Regular deadheading – the removal of spent flowers – encourages the plant to focus its energy on new growth. Remember that different hydrangea species may require specific propagation techniques, so familiarize yourself with the needs of your chosen variety.
Summary: Cultivating Hydrangea Abundance
Propagating hydrangeas is a rewarding endeavor that allows you to multiply the beauty of these captivating shrubs. Whether through softwood cuttings, layering, division or seeds, each propagation method comes with its own set of benefits and considerations. By selecting the right method and providing proper care, you can watch as your young hydrangea plants flourish and contribute their stunning blooms to your garden’s tapestry of color.
Through this guide, you’re empowered to continue the legacy of these enchanting plants and create a haven of hydrangea brilliance in your very own outdoor sanctuary.

