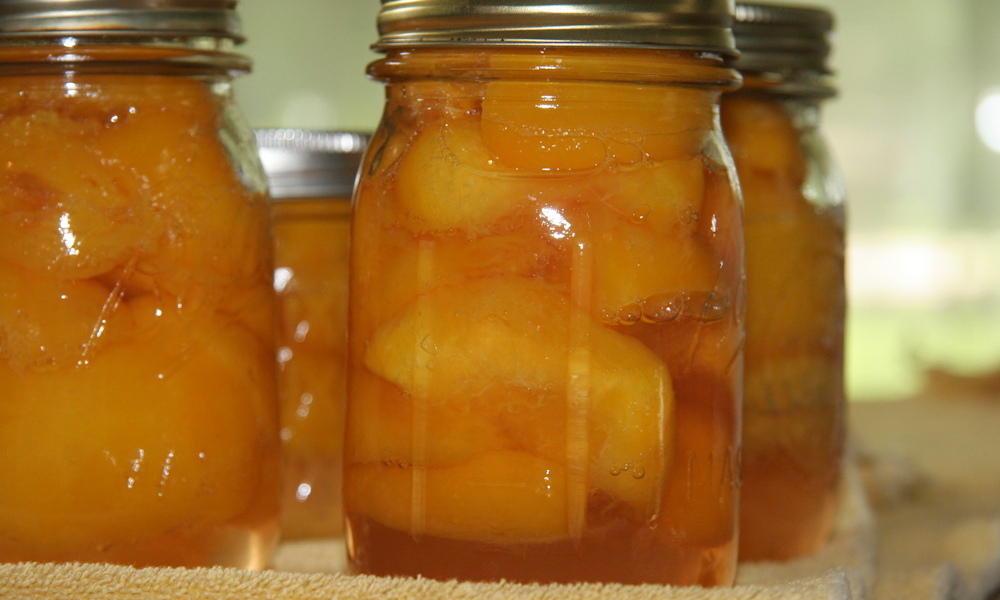
Canning the delectable fruits and vegetables from your bountiful garden may seem daunting at first, but fear not! It’s one of the most rewarding and straightforward kitchen tasks you can undertake. Imagine your future self, basking in the taste of summer on a chilly winter day, as you open a jar filled with the delicious treasures of your garden. To ensure your canning endeavors are a resounding success, read on for our expert tips and tricks!
A Wholesome Journey: Step-by-Step Guide to Canning Fruit
Before we dive into the treasure trove of tips for perfecting your home canning game, let’s walk through the step-by-step process of canning fruits from your garden. This simple guide will set the stage for a fruitful canning adventure.
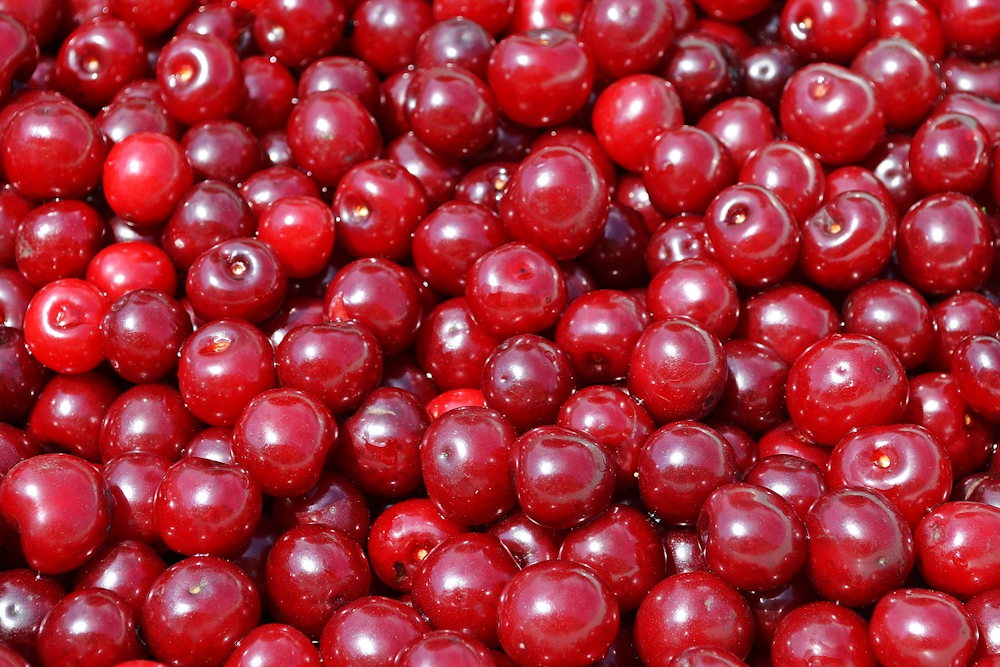
- Harvest and Prep: Gather fresh, ripe fruits from your garden. Wash, peel, core and slice them as needed.
- Sterilize Jars and Lids: Thoroughly clean your canning jars and lids. Sterilize them using boiling water or an oven to ensure a pristine environment for your preserves.
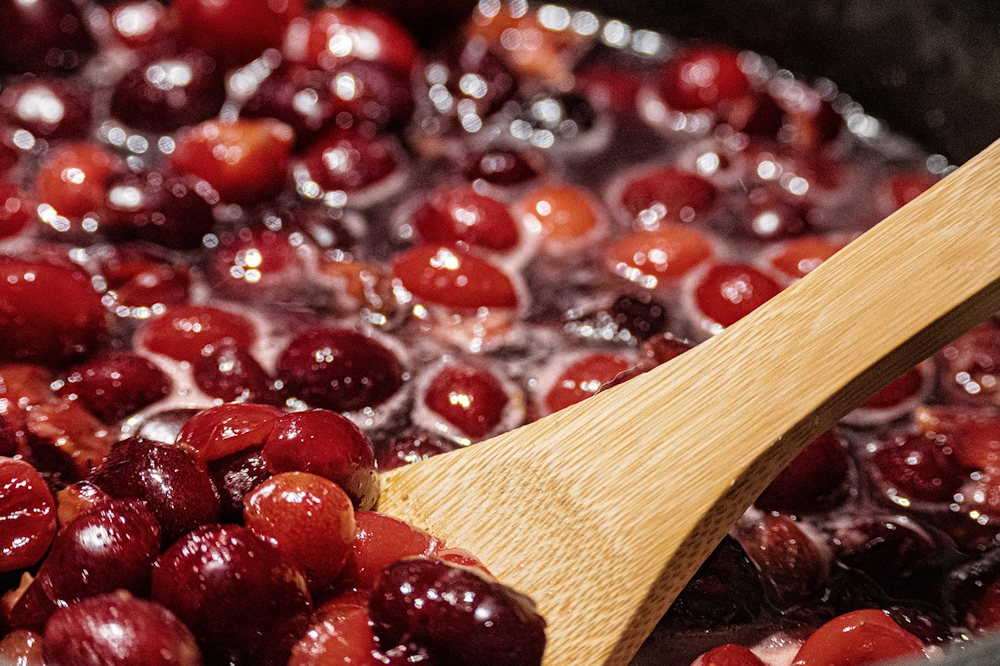
- Prepare Syrup or Liquid: If your recipe calls for it, create a sweet syrup or liquid to preserve the fruit’s flavor and texture.
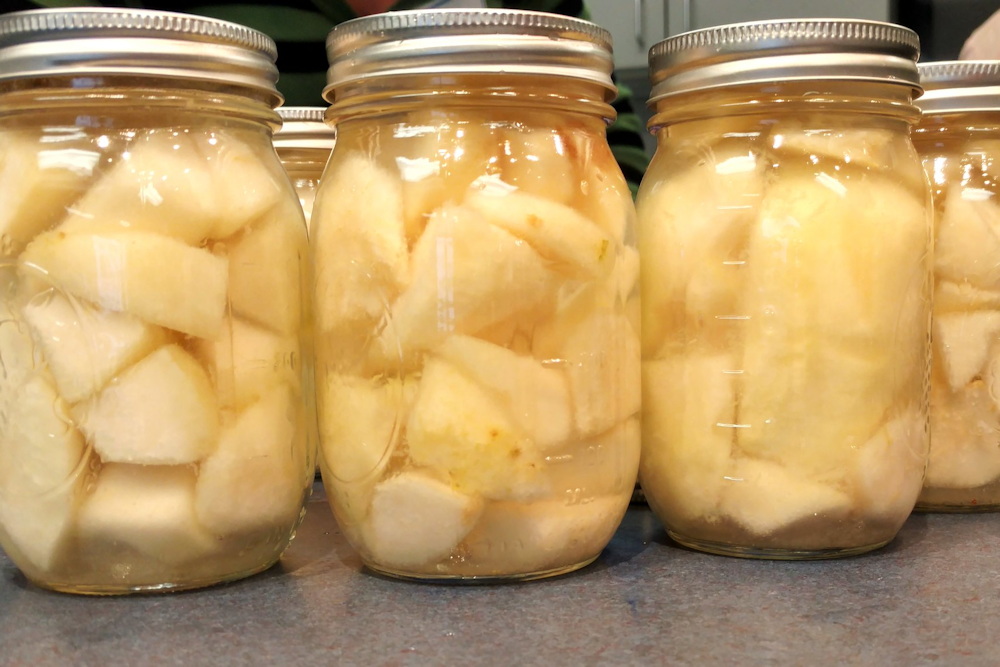
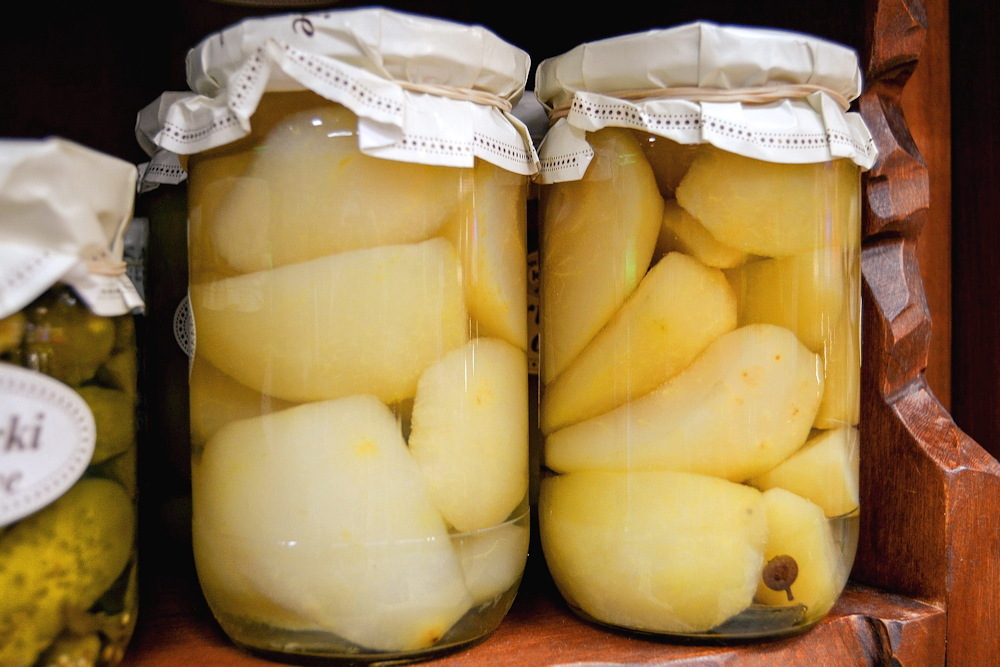
- Pack the Jars: Gently pack the prepared fruit into the sterilized jars, leaving the appropriate headspace.
- Add Syrup or Liquid: Pour the prepared syrup or liquid into the jars, covering the fruit while maintaining the correct headspace.
- Remove Air Bubbles: Slide a non-metallic utensil or bubble remover tool along the edges of the jar to release any trapped air bubbles.
- Wipe the Rim: Clean the rim of each jar to ensure a proper seal. Any residue might hinder the sealing process.
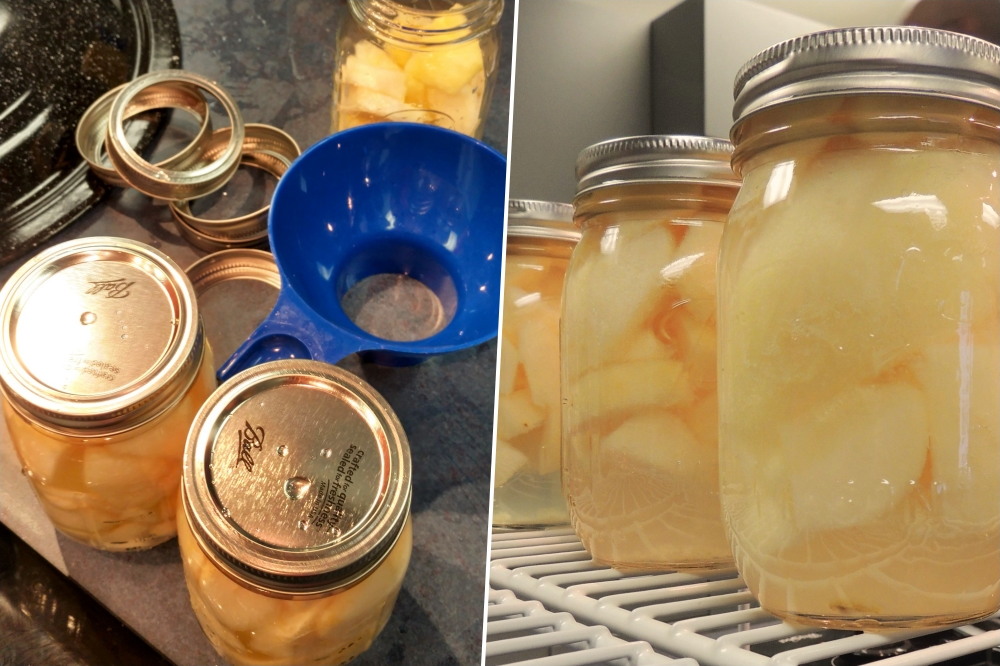
- Apply Lids and Rings: Place sterilized lids onto the jars and secure them with rings, ensuring they’re snug but not overly tight.
- Process in Boiling Water Bath: Lower the filled jars into a boiling water bath, ensuring they’re fully submerged. Follow the recipe’s processing time, which varies based on your altitude and the fruit’s type.
- Cool and Seal: Once processed, carefully remove the jars from the water bath and place them on a towel to cool. As they cool, you’ll hear the satisfying “pop” of the lids sealing.
- Check Seals: After cooling, press the center of each lid to check for a concave indentation. If the lid doesn’t flex and the seal is strong, you’re good to go.
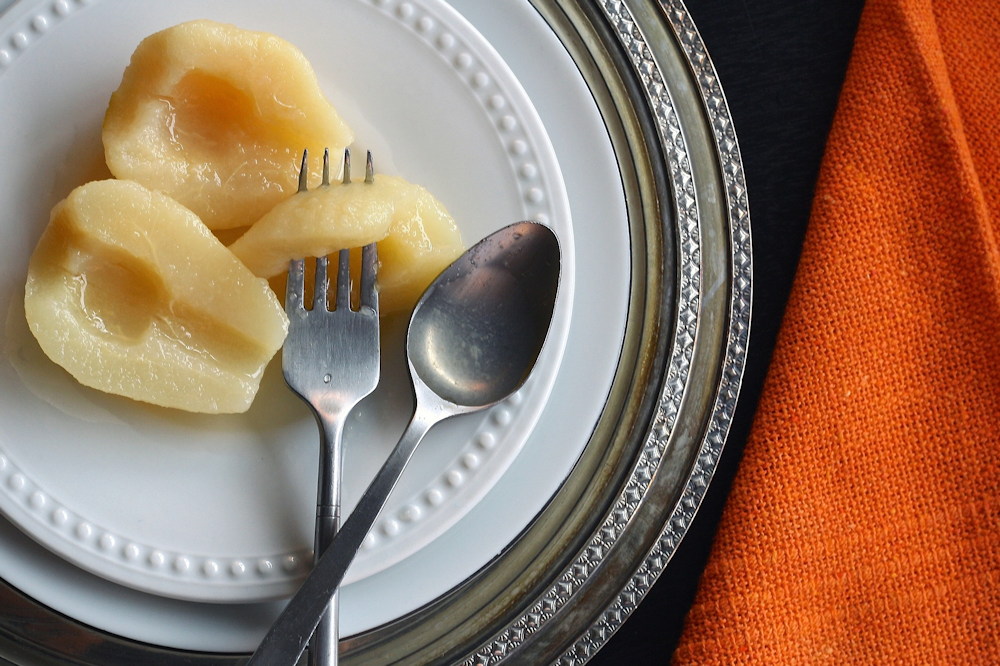
- Label and Store: Label your jars with the contents and date. Store them in a cool, dark place to enjoy throughout the year.
By mastering this foundational process, you’ll be primed to implement the expert tips that follow. Let’s embark on a journey to create delectable, garden-fresh preserves that’ll brighten even the gloomiest of winter days.
Preservation Perfection: A Bounty of Tips
- Prioritize Acidity: For safe canning, always ensure that your recipe maintains the right acidity level. This involves adding sufficient lemon juice or vinegar to lower the pH to 4.6 or below.
- Mind the Gap: When packing your jars, be sure to leave enough space between the lid and the contents. Approximately 1 cm for pickles and 0.5 cm for jams should do the trick.
- Champion Cleanliness: Maintain impeccable cleanliness throughout the canning process. Sterilize your canning jars, keep your workspace spotless and ensure the jar’s screw rim, where it meets the lid, is free from any food residue. Food particles trapped under the lid can hinder an airtight seal.
- Time and Temperature: Adjust your canning and steaming durations based on the jar’s volume. When filling jars with hot delicacies, strive for a temperature exceeding 80 degrees Celsius.
Pitfalls to Avoid
- Stay Calm and Can On: Don’t fret; simply adhere to basic precautions and guidelines, and you’ll be just fine. If your initial attempt doesn’t yield perfection, pop it in the fridge and enjoy it later.
- Temperature Transitions: Avoid pouring hot liquids into cold glass or introducing overly chilled glass into a hot water bath. Drastic temperature differences can cause the glass to crack, posing potential hazards.
- Secure the Seal: After the jars cool, make sure the lids are tightly sealed. Allow ample cooling time before transferring them to storage.
- Share the Bounty: Remember, many folks appreciate homemade treats over store-bought. Consider making extra jars of your garden delights to share with loved ones and friends!
With these tips in your canning arsenal, you’re well-equipped to transform your garden’s harvest into delectable, long-lasting delights. The satisfaction of savoring your homemade preserves during the colder months and gifting them to others will make your gardening efforts all the more rewarding. Happy canning!