


As the warm embrace of autumn begins to give way to the chill of winter, it’s time to turn your attention to the unsung heroes of your garden – your tools and equipment. Improper storage during the winter months can lead to the dreaded rust, making your trusted garden companions less effective and more laborious to use. In this guide, we will show you how to prepare your garden tools and equipment for winter storage, ensuring they remain in pristine condition and ready for action come spring.
Step 1: Thorough Cleaning and Maintenance
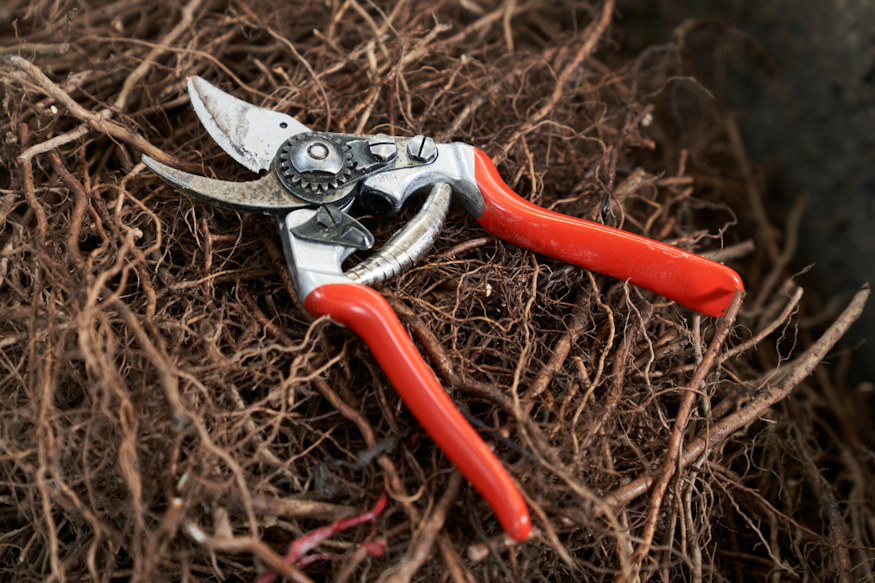
Before stowing away your tools, it’s crucial to give them a good once-over. Start by cleaning off any dirt, sap or debris that may have accumulated during the gardening season. A wire brush or a stiff-bristle brush is excellent for this task. You’ll want to ensure that your tools are free from any organic matter that could attract moisture and cause rust.
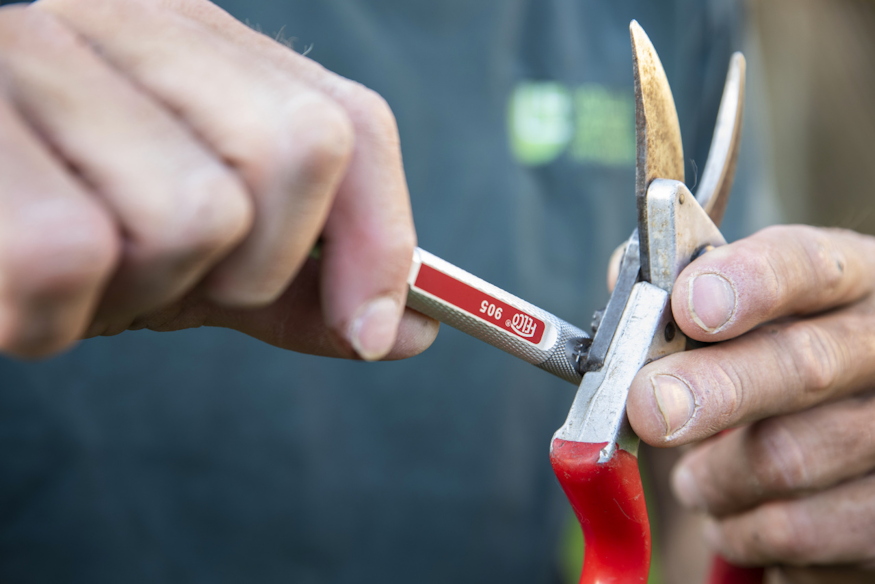
Step 2: Sharpening
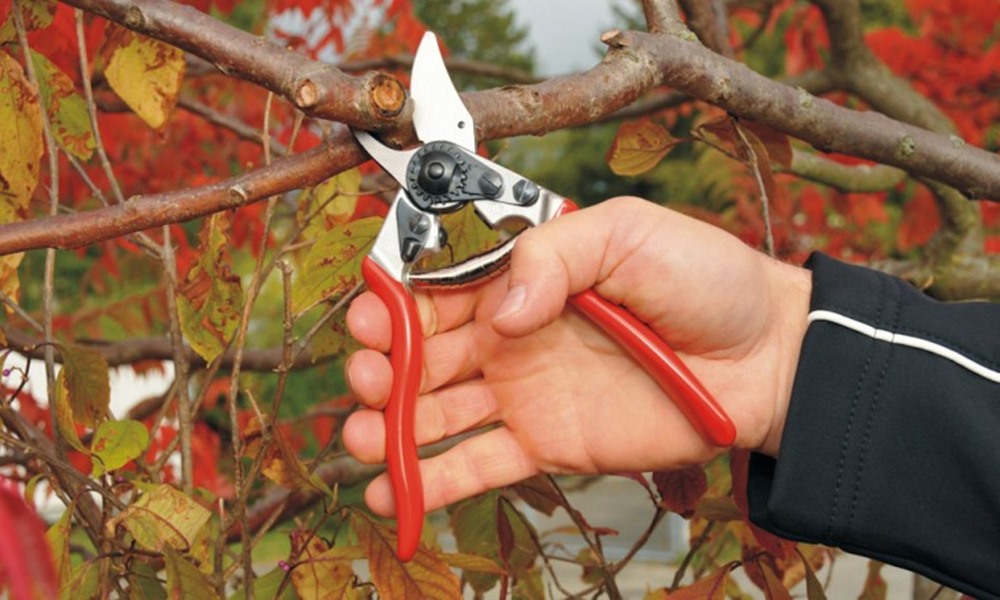
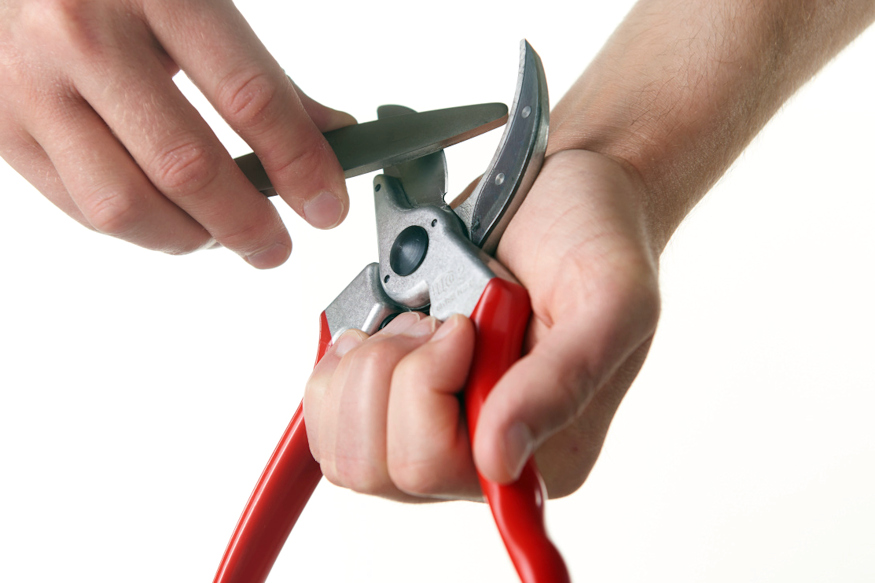
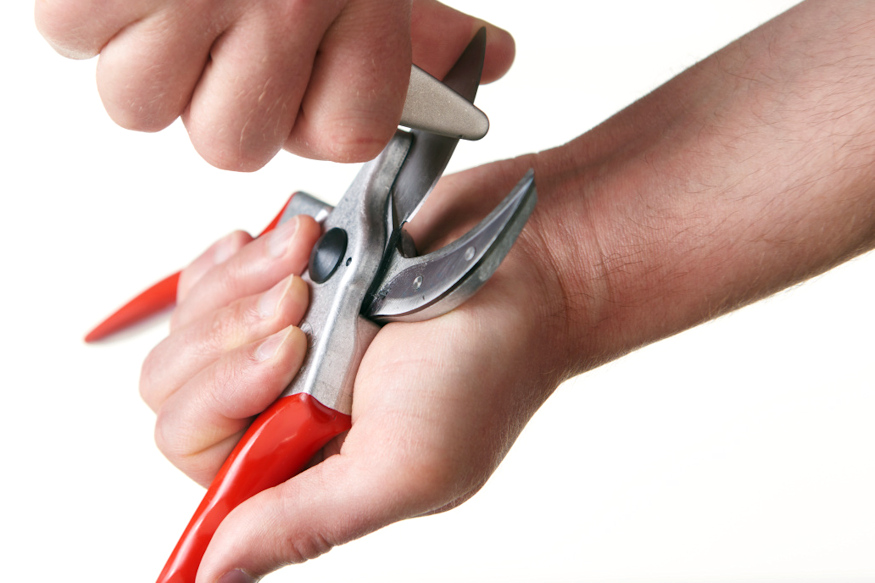
After cleaning, it’s time to sharpen your tools if needed. Pruning shears, shovels and other cutting tools benefit from a keen edge. Dull blades can make your gardening tasks more challenging and less precise. Invest in a good-quality sharpening tool, or consider professional sharpening if you’re unsure about doing it yourself.
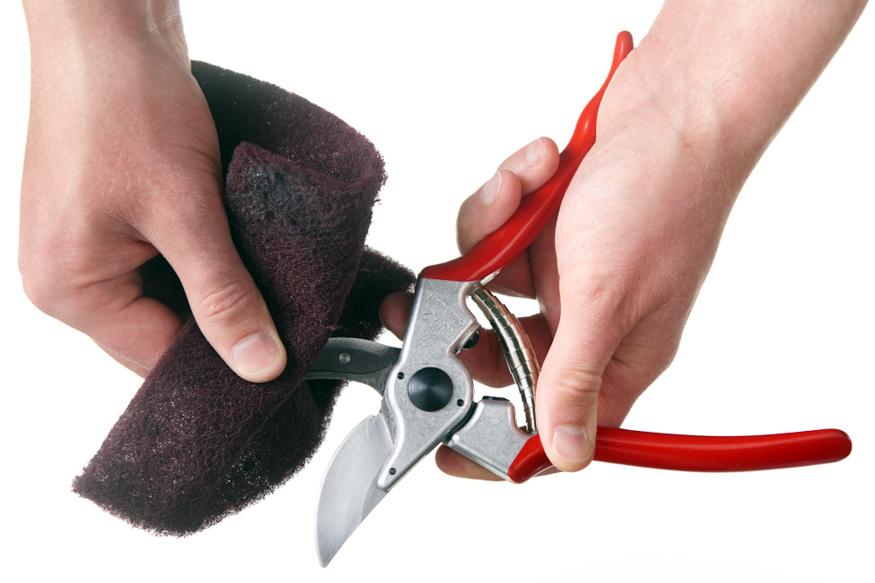
Step 3: Rust Removal and Polishing
Inspect the metal surfaces of your tools for any existing rust. If you find any, gently remove it using a wire brush, sandpaper or a rust-removal solution. Once the rust is gone, give your tools a good polish to restore their shine. A bright and polished surface not only looks better but also helps prevent future rust formation.
Step 4: Protective Coating
To further guard against rust, apply a thin layer of oil to your tools’ metal parts. This will create a protective barrier against moisture, ensuring they remain rust-free. Any type of mineral oil or a specialized tool oil will suffice.
Step 5: Screw Tightening and Handle Replacement
Inspect all screws and fasteners on your tools. Over time, these can become loose, affecting the tool’s performance and safety. Tighten any loose screws and replace handles that are damaged or worn. When it comes to handles, ash wood is an excellent choice due to its hard, lightweight and shock-absorbing properties.
Step 6: Disinfection
For tools with cutting surfaces, such as pruning shears, saws and knives, it’s important to disinfect them. This step is crucial in preventing the spread of fungal spores, bacteria and viruses that may be present on your tools. Use a high-alcohol-content liquid to briefly disinfect these items, ensuring a clean start next gardening season.
Winterizing Your Garden Tools
By following these simple yet essential steps, you can prepare your garden tools and equipment for winter storage effectively. Proper maintenance and care now will save you time, effort and potentially money in the long run by extending the life of your beloved garden tools. As the winter winds blow, your tools will be snug, rust-free and eagerly awaiting the return of spring, ready to help you cultivate a vibrant and bountiful garden once more.


