


Have you ever wondered how to make those iconic spooky pumpkin lanterns that adorn many doorsteps during Halloween? We’ll take you through the process step by step, and you’ll be surprised at how easy and fun it can be. So, if you’ve got around half an hour to spare, why not give it a try?
Unveiling the Origin of Jack-o’-Lanterns
While many people often associate pumpkin lanterns with Anglo-Saxon traditions, it’s worth noting that their origin is more deeply rooted in the history of Halloween, a holiday with its origins in ancient Celtic customs. The tradition of carving and illuminating pumpkins, while now an integral part of Halloween in the United States, originally served as a symbol of the harvest season, where communities came together to celebrate the bountiful harvest long before Halloween became synonymous with the practice. This transformation of the pumpkin into a lantern was a reflection of the ancient belief in warding off malevolent spirits and lighting the way for a fruitful and prosperous season ahead. So, as we delve into creating your very own spooky jack-o’-lantern, remember that you’re not just crafting a Halloween decoration but carrying on a tradition with deep historical significance.

Now, let’s dive into the process of creating your own pumpkin lantern. But first, we need to gather the necessary materials.
Materials You’ll Need
Before you embark on your pumpkin lantern-making journey, ensure you have the following materials ready:
- One or two nicely shaped, large pumpkins
- A pen or thin felt-tip pen to sketch your desired pattern
- Cardboard sheet (if you wish to create a template)
- Short-bladed, sharp, pointed knife for carving
- A spoon to scoop out the pumpkin’s insides
- Wick or candle to illuminate the finished lantern
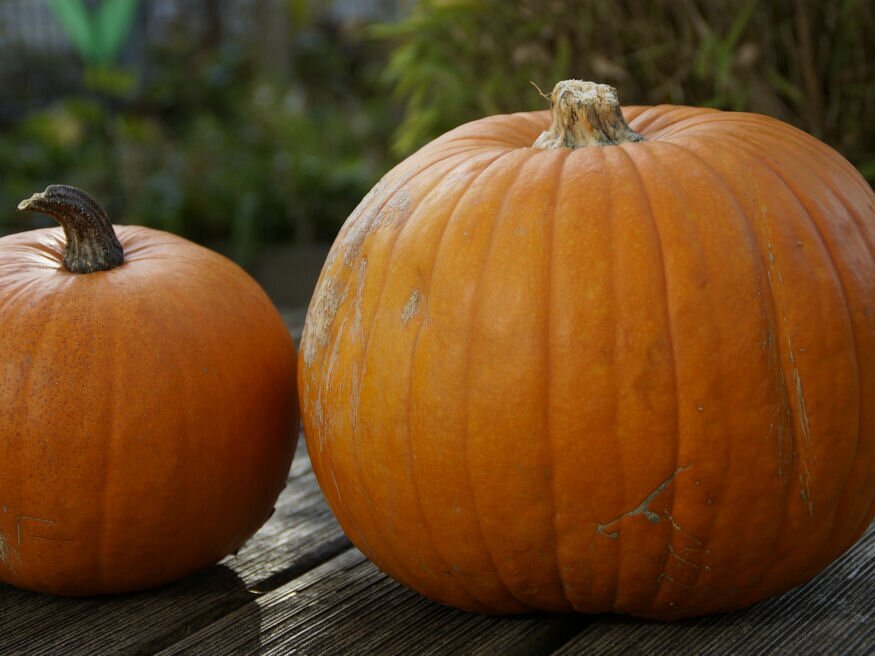
It’s worth mentioning that if your chosen pumpkin has a smooth exterior, it’ll be easier to work with compared to a heavily grooved one. Now, let’s get started!
Carving Your Pumpkin Lantern
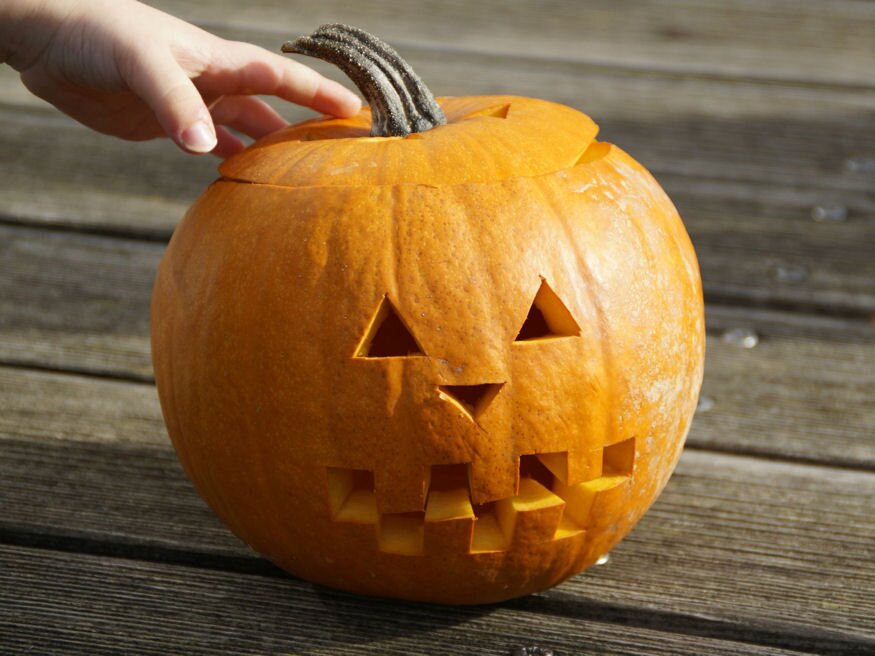
Preparing the Pumpkin
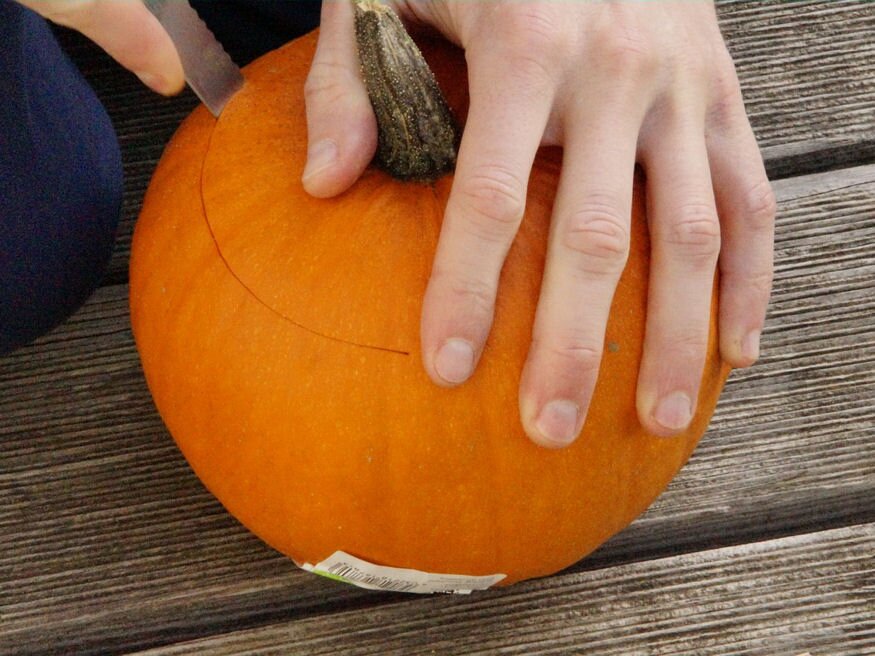
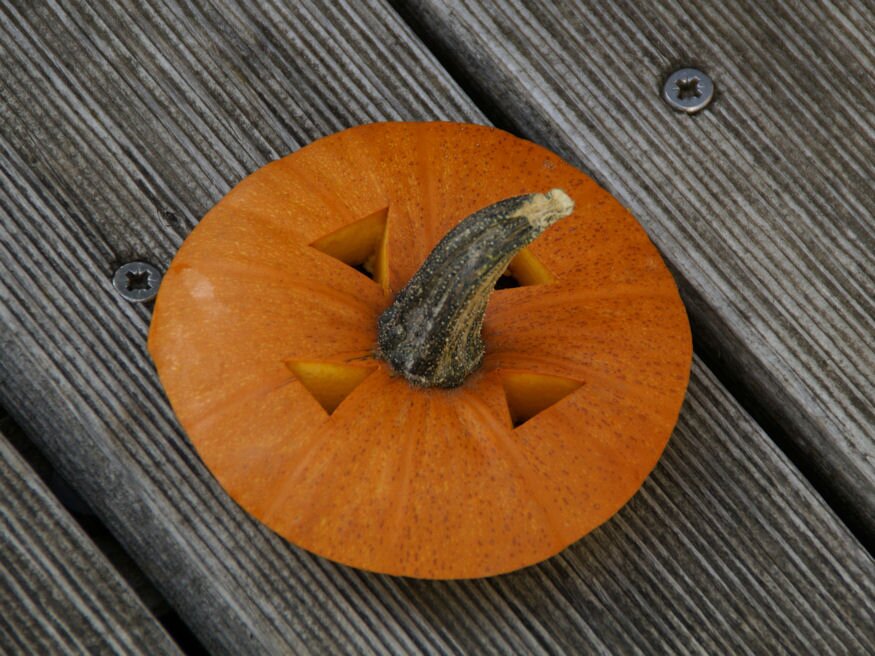
Begin by cutting off the top of the pumpkin in a circular manner, creating a “lid” that can be placed back on later. The direction of your cut should be inclined towards the center of the pumpkin, rather than vertically. A knife with a serrated edge works well for this purpose, as it allows for more controlled cuts.
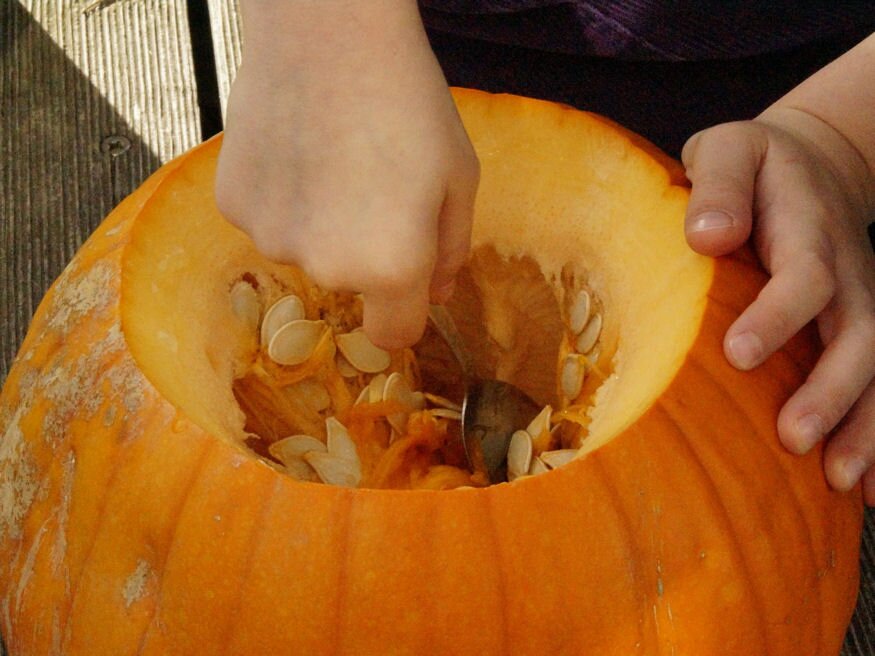
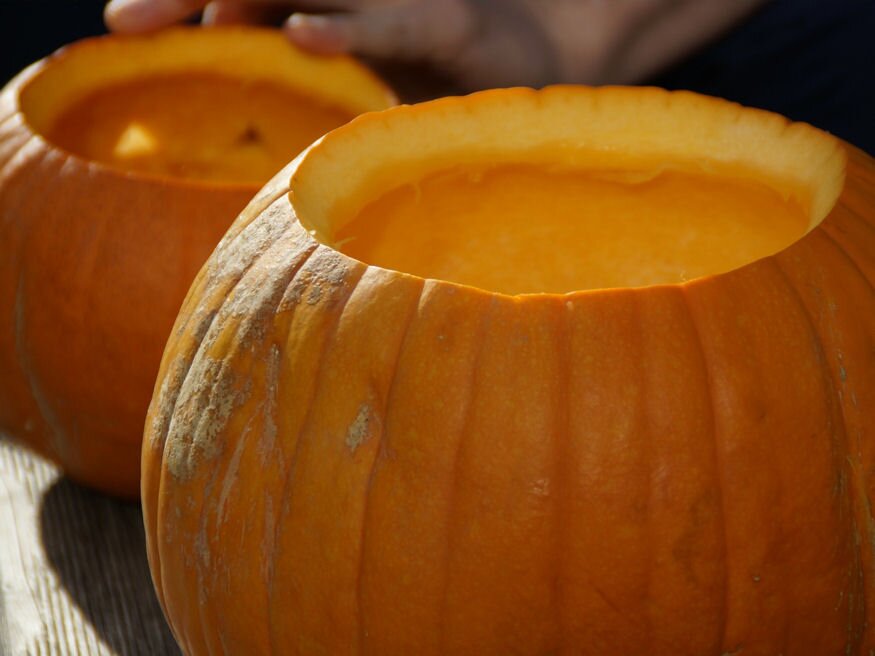
Scooping the Insides
Using a spoon, scoop out the soft interior of the pumpkin along with the seeds. Ensure that the bottom of the pumpkin, where the candle will rest, is even and level.
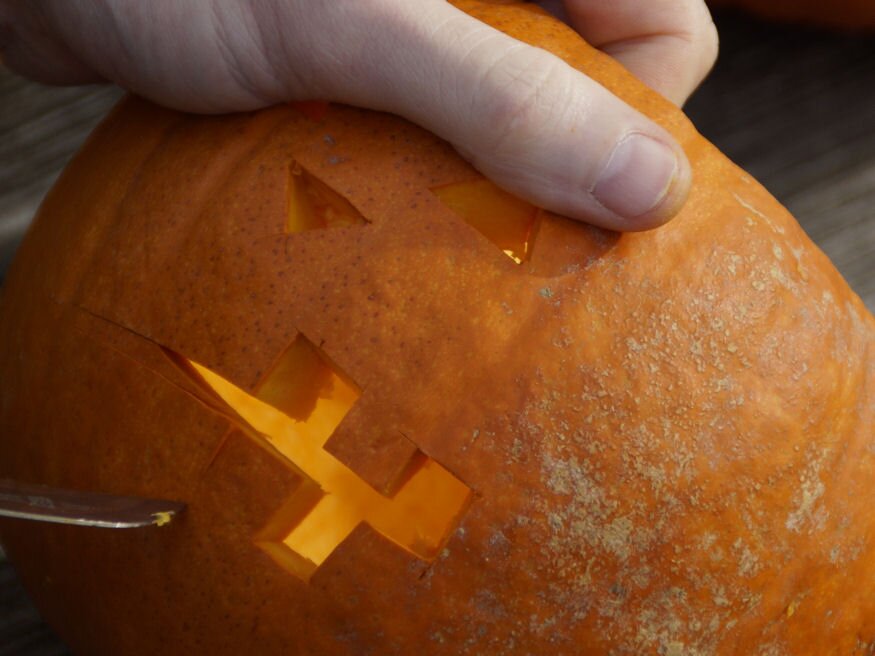
Creating the Face
If you’re aiming for a symmetrical design, you can draw the eyes, mouth and nose of your lantern on cardboard in advance and then cut them out. For those with a steady hand, creating a design without a template is entirely possible. Delicate, precise movements will help you avoid mistakes and create the desired image.
Express Your Creativity
Feel free to let your imagination run wild as you craft the pumpkin’s face. Whether you want it to be eerily terrifying, amusingly comical or simply friendly and smiling, the choice is yours. If you’re seeking inspiration, the internet is filled with ideas to spark your creativity.


Lighting It Up
Finally, place a tealight or a shorter candle inside the finished lantern. For safety, position the pumpkin in a container with high sides and never leave it unattended while it’s lit.

Opting for LED Tealights
For a safe and hassle-free alternative, we wholeheartedly recommend using LED tealights. They offer the same charming effect as traditional candles, lighting up your pumpkin lantern for an extended period without generating heat or soot. These LED alternatives are perfect for a child- and pet-friendly Halloween experience.
Now, you’re all set to create your very own spooky pumpkin lantern, and you can do it with confidence, knowing you’ve got the process down pat. So, light up the night and let your creativity shine this Halloween season!


